Project of the Month – June 2024
Enclosed Spiral Staircase Bristol

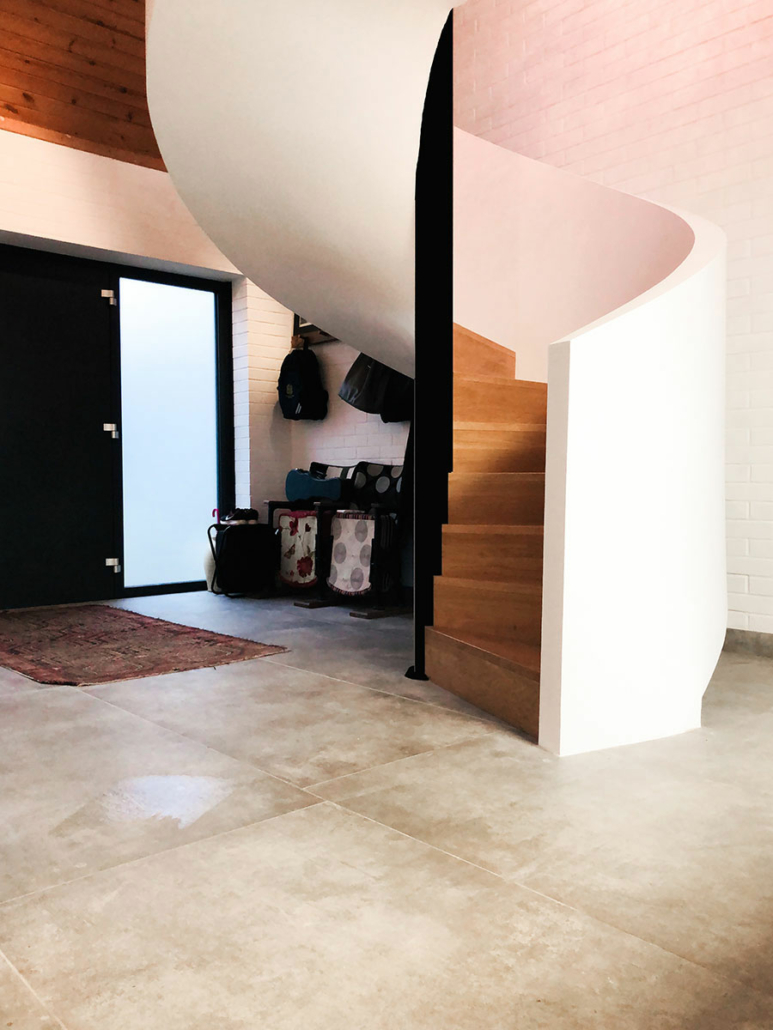
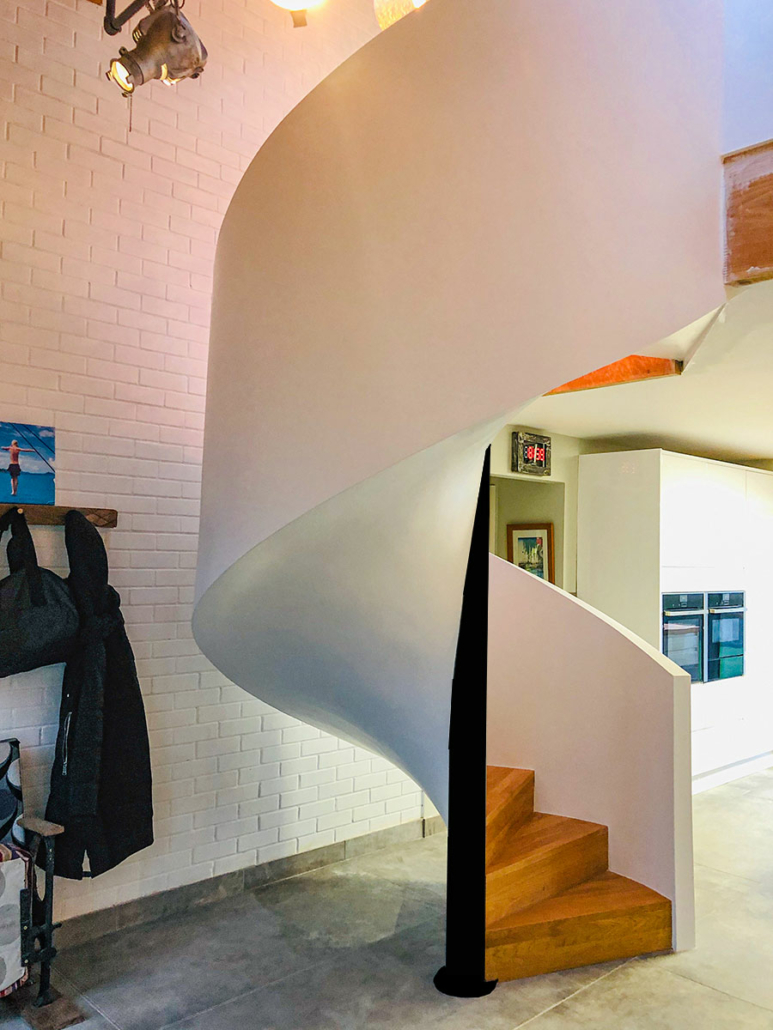
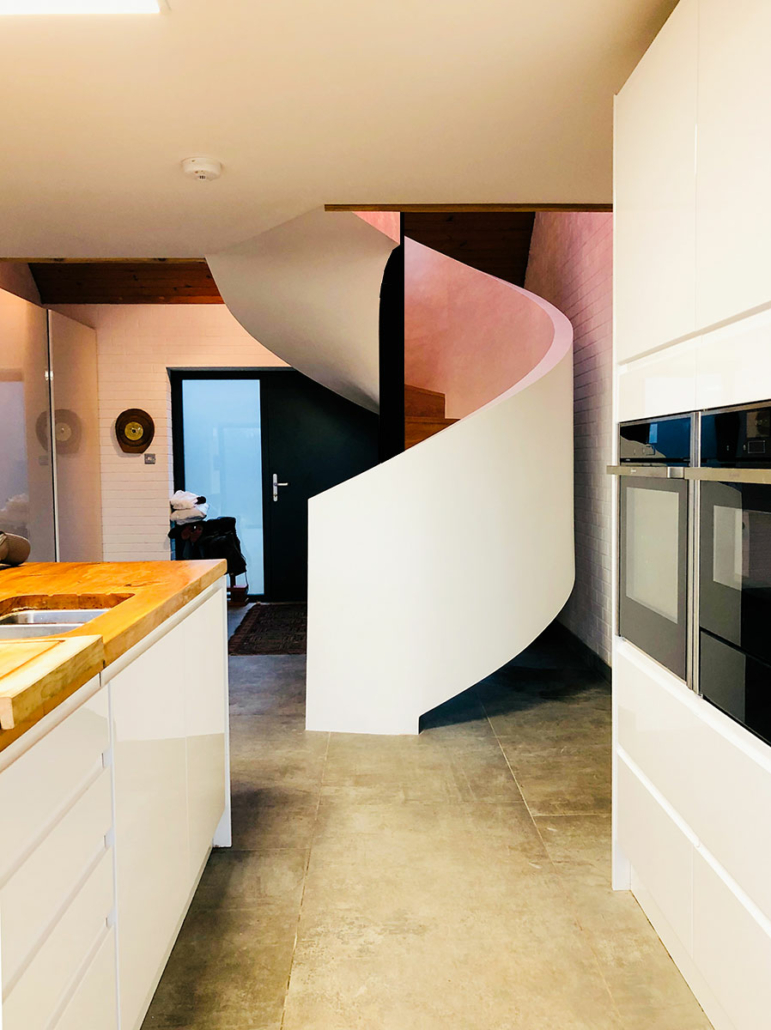
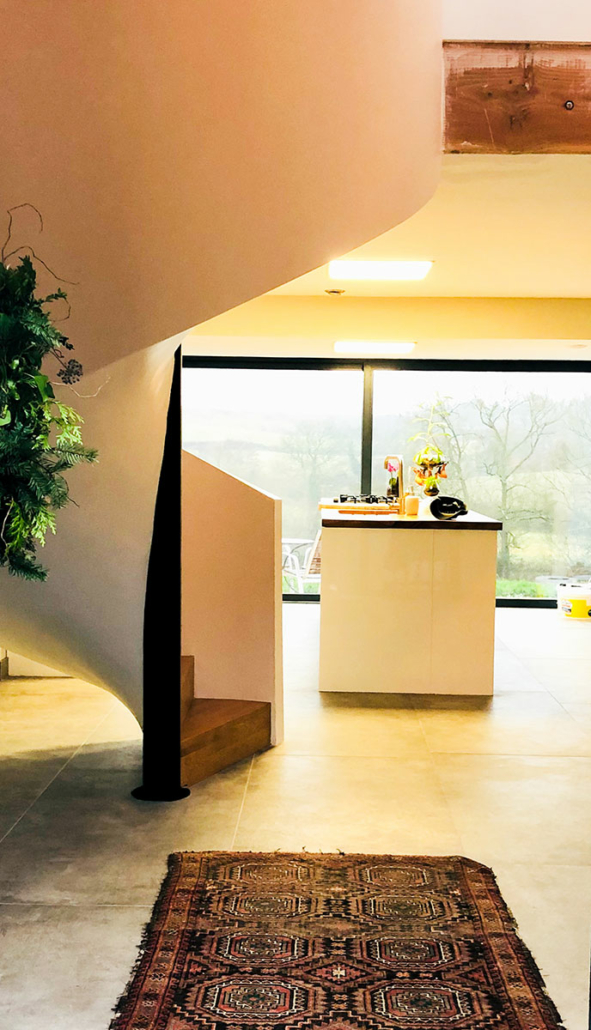
A fairly common look people request is the ‘walled’ spiral where the balustrade on the stair is solid structure. This design forms a wonderful elliptical twist as it ascends and creates a stunning sculpture in the right setting. Despite this not being something we offer directly we do often create the framework for the on site joiner to form the wall. Plywood is cut and bend and fixed to the stair’s newel posts then plastered to a smooth finish.
Our client, based just north of Bristol was very keen for this type of spiral staircase. The costs they received for various firms however was prohibitive. When we proposed our solution, our customer couldn’t have been more thrilled. For less than a quarter of the prices they were quoted, they were able to achieve the look they desired with a few days extra work from the site joinery team.
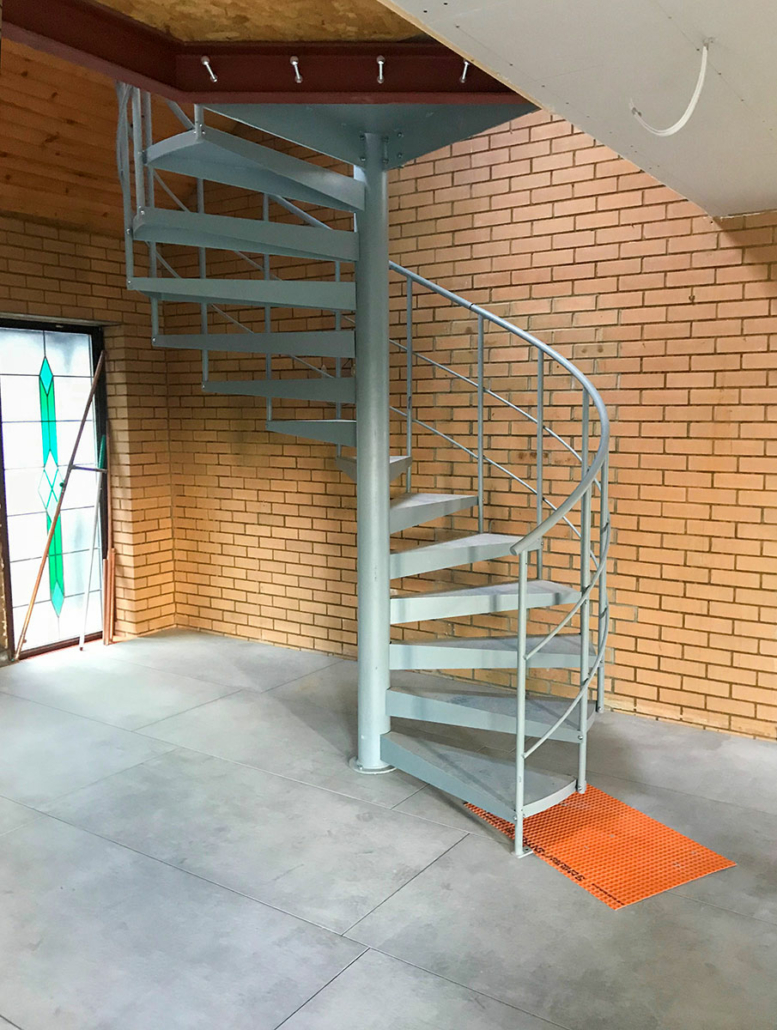
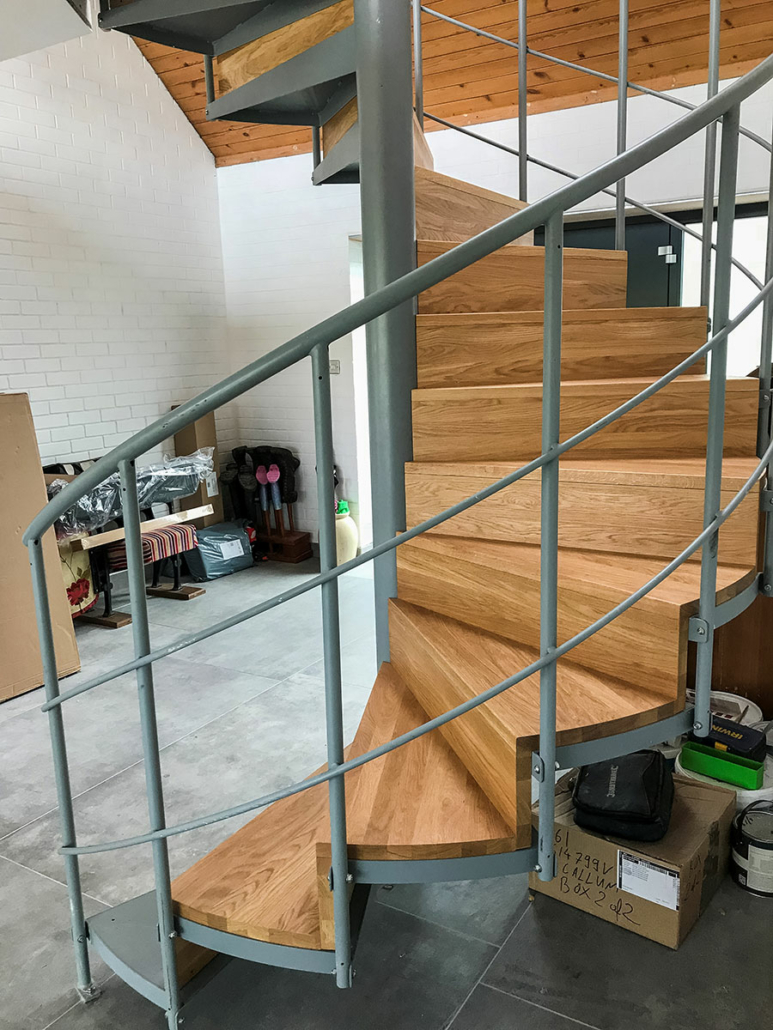
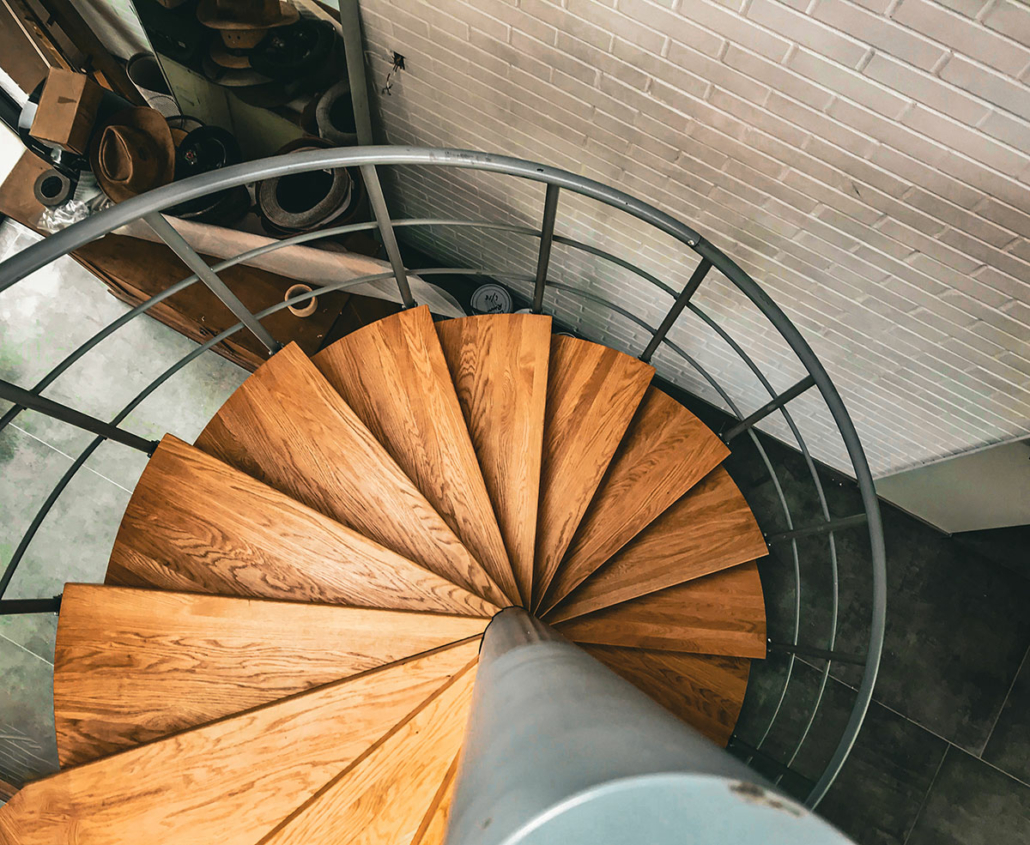
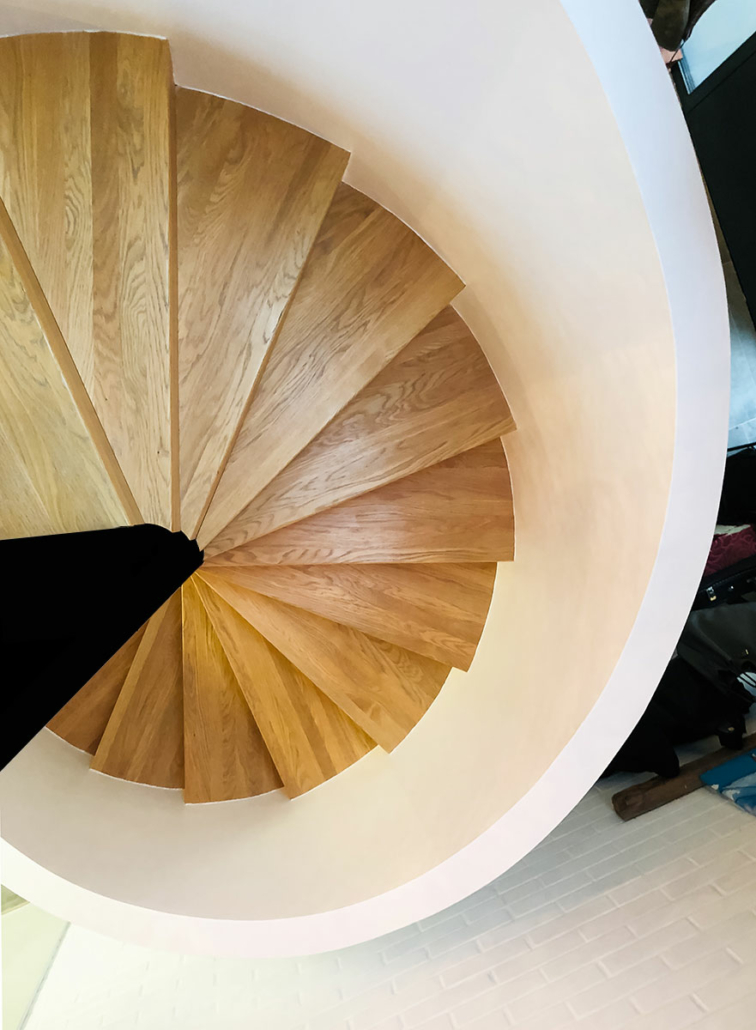
The stair itself was made at over 2000mm diameter to ensure it complied with the requitements as the primary stair in the home as well allowing for the buildup thickness of the surrounding wall. 14 risers were included with a triangular top platform at the top joining it to the upper floor. 30mm solid oak treads and risers would added. All the steelwork was supplied primed for on site finishing.
Our client took these pictures during and after pictures which really demonstrate the transformation and evolution of the spiral.
For a price for your version of this custom made spiral stair, please fill out the form at the bottom of the page.
The core structure of the spiral is assembled – all in primed steel. This is achieved the same way on all our custom spirals.
Add the oak treads and risers to check positioning
Create the curved wall. This is something your joiner will form using the structure of our balustrade for support. On this project out client told us their joiner screwed thin plywood to both sides of the balustrade then plastered and painted to finish.
This is very economical way to achieve a spectacular spiral staircase. The core , primed structure is not tremendously expensive nor are the material cost to create the curved wall. For some clients we even supply them with drawings for the treads and risers so they can use their own.
 https://completestairsystems.co.uk/wp-content/uploads/2026/09/Header-pic-for-staircase-project-of-the-month-august-26.jpg
800
800
admin
https://completestairsystems.co.uk/wp-content/uploads/2024/01/Spiralstaircase-completestairsystems-logo.png
admin2026-09-01 10:49:142026-09-01 10:49:14Floating Staircase Upper Basildon, Berkshire
https://completestairsystems.co.uk/wp-content/uploads/2026/09/Header-pic-for-staircase-project-of-the-month-august-26.jpg
800
800
admin
https://completestairsystems.co.uk/wp-content/uploads/2024/01/Spiralstaircase-completestairsystems-logo.png
admin2026-09-01 10:49:142026-09-01 10:49:14Floating Staircase Upper Basildon, Berkshire https://completestairsystems.co.uk/wp-content/uploads/2026/06/Outside-view-of-brick-house-in-oxford-project-with-spiral.jpg
800
800
admin
https://completestairsystems.co.uk/wp-content/uploads/2024/01/Spiralstaircase-completestairsystems-logo.png
admin2026-07-15 12:10:472026-07-15 12:20:04Spiral Stair Oxford Refurb
https://completestairsystems.co.uk/wp-content/uploads/2026/06/Outside-view-of-brick-house-in-oxford-project-with-spiral.jpg
800
800
admin
https://completestairsystems.co.uk/wp-content/uploads/2024/01/Spiralstaircase-completestairsystems-logo.png
admin2026-07-15 12:10:472026-07-15 12:20:04Spiral Stair Oxford Refurb https://completestairsystems.co.uk/wp-content/uploads/2026/06/Spiral-Staircase-in-Loch-ness-bed-and-breakfast-project-15.jpg
800
800
admin
https://completestairsystems.co.uk/wp-content/uploads/2024/01/Spiralstaircase-completestairsystems-logo.png
admin2026-06-04 12:12:302026-06-04 12:12:30Spiral Staircase Loch Ness
https://completestairsystems.co.uk/wp-content/uploads/2026/06/Spiral-Staircase-in-Loch-ness-bed-and-breakfast-project-15.jpg
800
800
admin
https://completestairsystems.co.uk/wp-content/uploads/2024/01/Spiralstaircase-completestairsystems-logo.png
admin2026-06-04 12:12:302026-06-04 12:12:30Spiral Staircase Loch Ness https://completestairsystems.co.uk/wp-content/uploads/2026/03/Glass-Staircase-Haywards-Heath-cottage-refurbishment.jpg
800
800
admin
https://completestairsystems.co.uk/wp-content/uploads/2024/01/Spiralstaircase-completestairsystems-logo.png
admin2026-05-07 10:14:252026-05-07 10:14:25Glass Staircase Haywards Heath
https://completestairsystems.co.uk/wp-content/uploads/2026/03/Glass-Staircase-Haywards-Heath-cottage-refurbishment.jpg
800
800
admin
https://completestairsystems.co.uk/wp-content/uploads/2024/01/Spiralstaircase-completestairsystems-logo.png
admin2026-05-07 10:14:252026-05-07 10:14:25Glass Staircase Haywards Heath

 Spiral Staircase Newbury